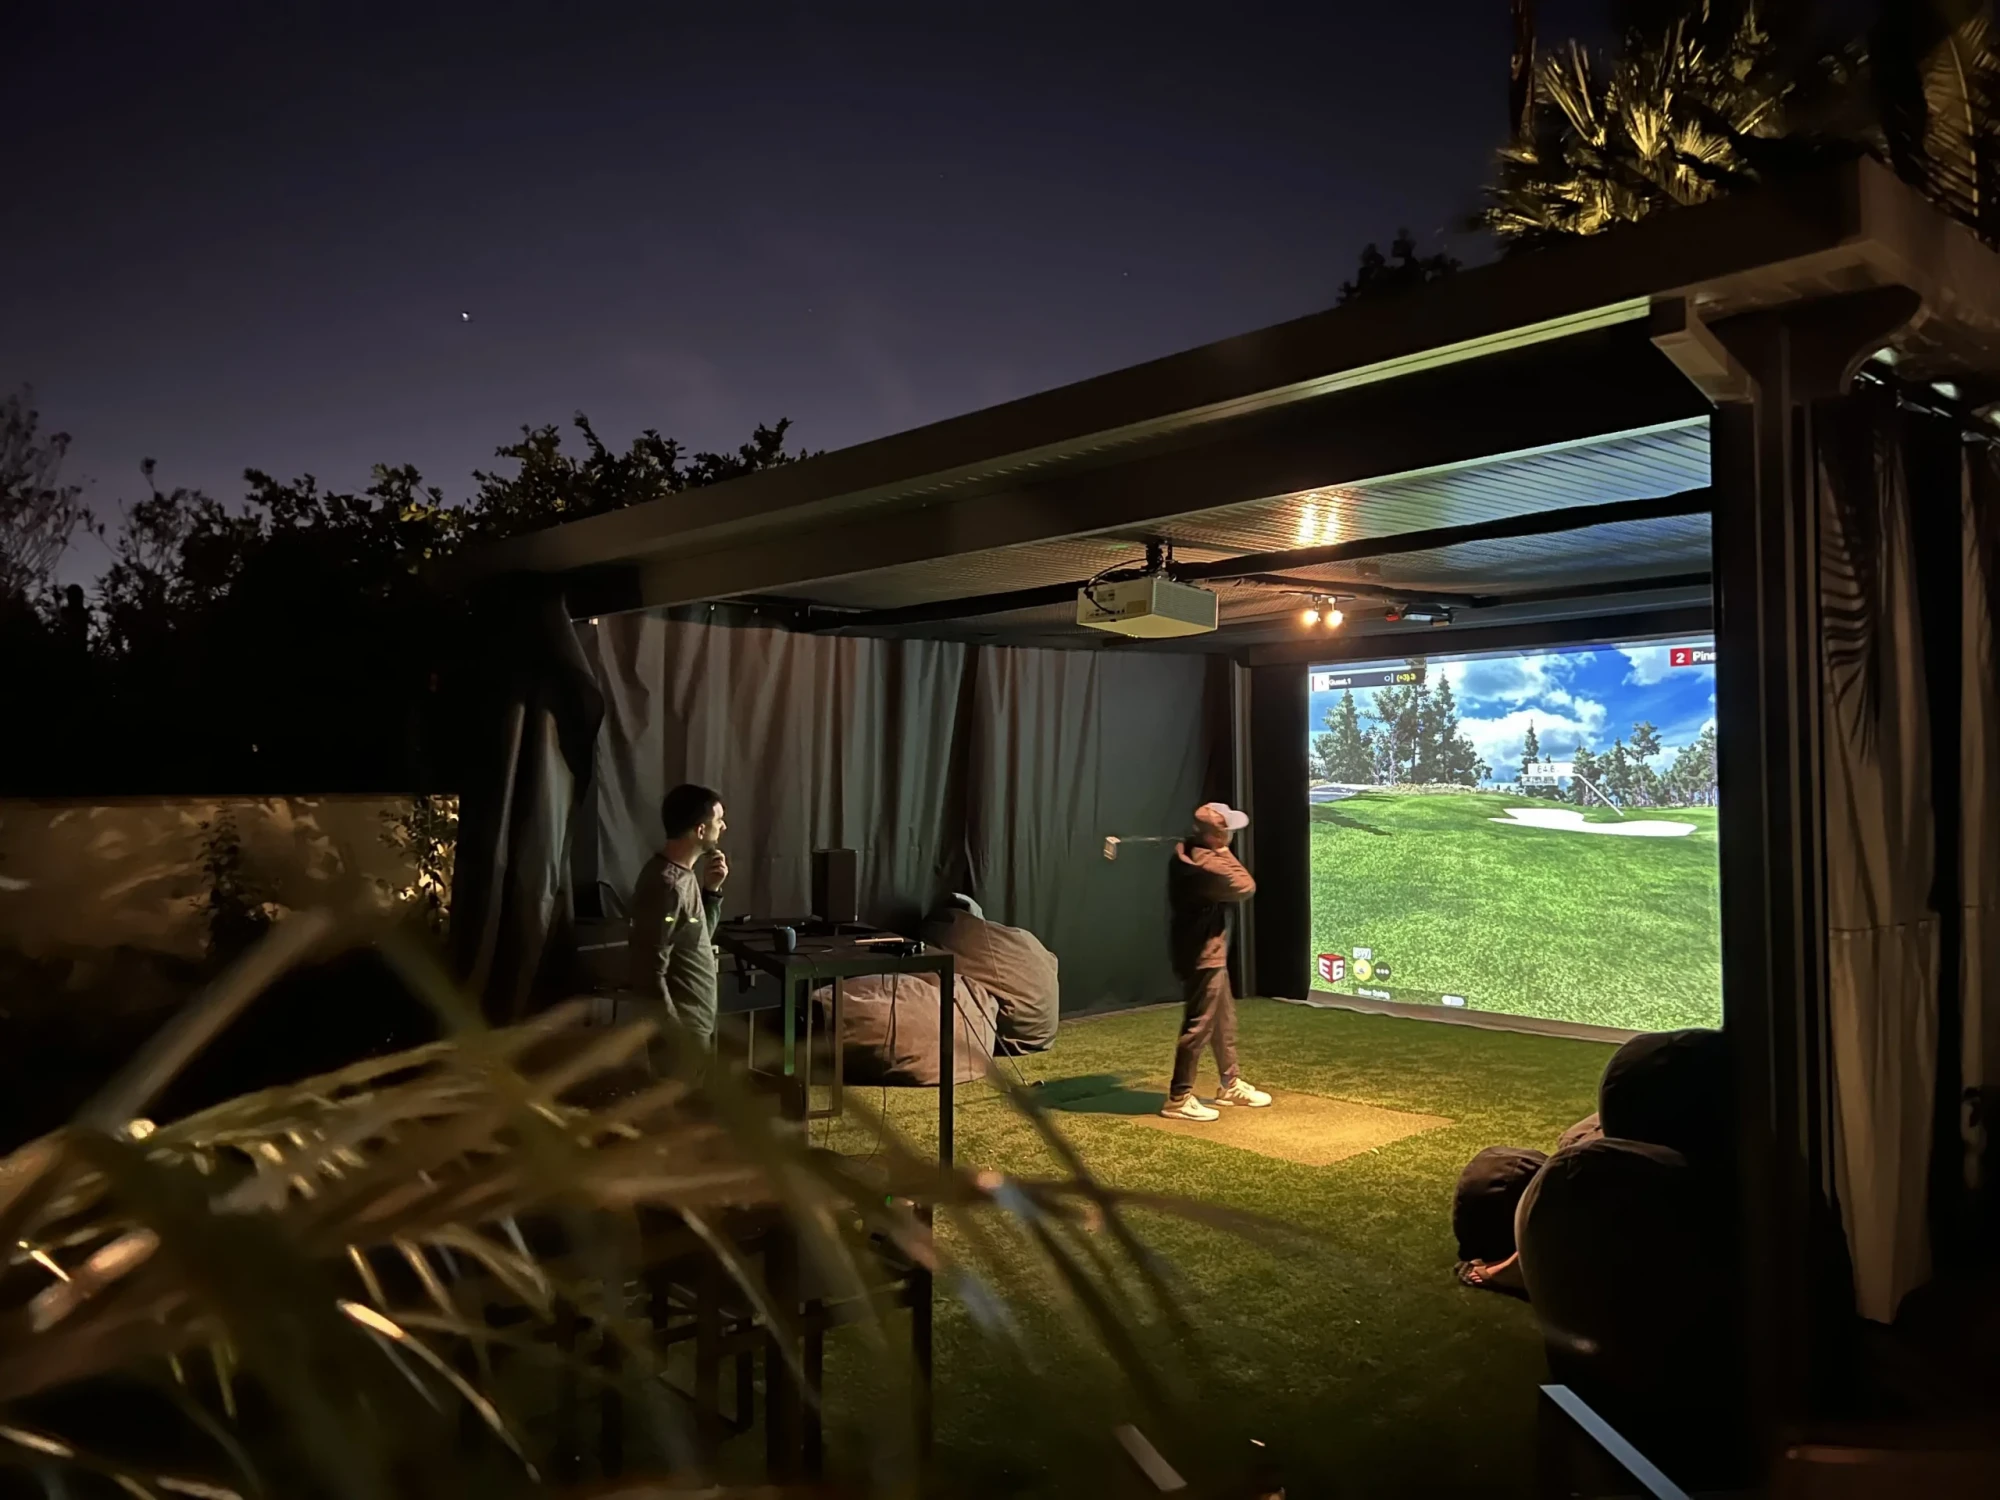
An outdoor golf simulator enclosure beats a garage build because you're not fighting low ceilings, door openers, and cramped widths that wreck your swing. Most garages top out around 8 ft of usable height not enough for a driver. A purpose-built enclosure gives you the ideal 10 ft ceiling, 14 ft width, and proper depth for radar launch monitors, plus sealed climate control that actually works if you can want it. Here's how the two options stack up across every factor that actually matters.
Before you spend a dime on a launch monitor or impact screen, you need to figure out whether your space can actually handle a golf simulator because a shocking number of garage builds end up cramped, compromised, or straight-up unusable. You're looking at 10 ft ceilings, 14 ft wide, and 18 ft deep as the sweet spot. Most garages don't come close. Once you subtract garage door openers, lighting fixtures, and that ceiling frame eating inches, your "9-foot ceiling" becomes 8 ft of usable space. At 8 ft ceilings, full driver swings are generally not possible, which means you're already limiting what clubs you can use before the build even begins. Depth's the real killer radar launch monitors alone need 7–9 ft behind you, plus 10–12 ft to the screen. That's 17–20 ft before you've even accounted for screen buffer. Width matters just as much, it's recommended at least 12 ft to accommodate swings for both handedness, so left-handed golfers aren't left out of their own setup. An outdoor enclosure? You build around the simulator, not the other way around.
Whether you're swinging in a garage or inside a purpose-built outdoor enclosure, stray shots are the thing that'll actually ruin your day, not your swing data, not your projector settings. A mis-hit driver can absolutely destroy a garage window or dent your door hardware. And garages are full of hazards, low beams, storage shelves, and light fixtures, all sitting right in your swing path. Rooms cluttered with doors, beams, or storage in the simulator area should be avoided entirely, as such obstructions pose both safety risks and tracking interference.
Purpose-built enclosures solve this differently. Side panels, top panels, and properly tensioned impact screens keep balls contained from every angle. You're not jury-rigging curtains around your wife's car. You need roughly 16 inches behind the screen for recoil alone, and most garages can't spare that without feeling cramped. Cramped means you're adjusting your swing, which defeats the entire point.
Once you've sorted out the safety side of things, the next question is obvious: what's this actually going to cost? Garage conversions typically run $5,000–$45,000+, while outdoor enclosures land between $25,000–$80,000+. That gap's real, and it's mostly because your garage already has walls and a roof.
An outdoor enclosure? You're buying the entire setup plus all that interior stuff. That's a fundamentally different budget conversation.
The gap narrows only when your garage needs serious structural work, pushing conversion costs into new-build territory. Otherwise, the garage route is simply cheaper upfront, no way around it. That said, outdoor enclosures let you plan dimensions, lighting, and layout from the start, so the end result often feels more like a professional indoor golf facility. An outdoor enclosure also adds usable property footprint and preserves your garage for storage and parking, which can considerably increase the overall value.
A wall-mounted mini-split handles both heating and cooling without eating floor space. In a garage, you're competing with car exhaust, dust, and massive air leakage every time that overhead door moves. Good luck maintaining stable humidity for your launch monitor and impact screen in that environment.
The sealed enclosure also keeps dust and moisture swings in check, which means less cleaning and longer equipment life. Impact screens built with multi-layer construction and foam backing can handle high ball speeds, but only if environmental conditions aren't degrading the materials over time. A backyard shed built for simulation needs insulation and temperature control to perform reliably across every season.
Because nobody wants to dump another $2,000 into their simulator every 18 months, the way you build matters more than what's shiny right now. Start with your core stack: launch monitor, quality mat, impact screen, projector, and computer, and stop there. Buy once, cry once on the mat and screen. Cheap ones fray fast, and you'll replace them twice.
A dedicated enclosure keeps everything accessible for maintenance: cleaning sensors, inspecting screen edges, and swapping cables. Garage builds accumulate janky workarounds that hide wear until something fails spectacularly. Firmware and software updates extend your hardware's lifespan without replacing any physical components. That's free longevity. A clean, modular setup you can actually service beats a cobbled-together garage rig every single time. Keeping your projector on a stable mount also prevents alignment drift that degrades image quality over time, saving you from unnecessary recalibration headaches. Opting for a lifetime subscription to your simulator software instead of paying annually also eliminates a recurring cost that quietly eats into your budget year after year.
You can fight your garage's low ceilings, concrete floors, and zero insulation all day long, or you can just build it right from the start. A dedicated outdoor golf simulator enclosure gives you the clearance, climate control, and safety a garage never will, without gutting a space your family actually needs
Want to learn more about our custom residential and commercial golf simulators? With over 20 years in the business, our expert team will help you create the golf simulator of your dreams. Contact us today or call any time at (602) 888-4018.